Example: Custom model inference with probability maps
Last updated
Was this helpful?
Last updated
Was this helpful?
In this guide, we will demonstrate a practical and hands-on example of implementing custom model inference in Supervisely. Before we begin, please check out the section in the documentation for detailed information on integrating custom models at various levels of the platform, including training, inference, and benchmarking.
In this example, our custom model in addition to binary masks returns probability maps, where each pixel represents a probability of the class (0 for 0% probability, 255 for 100% probability, and any value in between).
Disclaimer: To simplify the demonstration, we will use a pretrained YOLO model to generate binary masks and apply a Gaussian blur to simulate probability maps. In the real-world scenario, you would use a model that returns probability maps directly. Please note that this is a specific use case, and the principles and techniques can be applied to a wide range of custom models and tasks. You can adapt the code and methods to suit your specific requirements, check out the documentation for more details.
To implement custom inference in Supervisely, you need to create a subclass of the sly.nn.inference.Inference base class. This class provides a set of built-in methods that handle various aspects of the inference process, such as loading the model, making predictions, creating annotations, or even built-in GUI, and more. Depending on your requirements, you may need to override some of these methods to customize the behavior of your model.
Here is a basic outline of the steps involved in this example:
Create a subclass of sly.nn.inference.Inference and implement methods to load the model, make predictions, and create annotations.
Prepare a simple script to deploy the model and infer images.
Optional: Render the heatmaps on the images to visualize the probability maps.
Prepare the app to serve the model with GUI.
Release the app as a private app in Supervisely.
Predict using the app and explore the results in the platform.
Before we start, let's create an yaml file with the inference settings, for example, src/custom_settings.yaml. This file will be used to configure the model and set the inference parameters. You can specify any parameters you want to use for inference, such as confidence threshold, IoU threshold, maximum number of detections, etc. In our example, we have added a return_heatmaps setting to return probability maps in addition to binary masks.
Now, let's add FRAMEWORK_NAME and MODELS attributes to the CustomModel class ― these attributes will be used to generate the GUI for the app. The MODELS attribute should point to a JSON file with information about the pretrained models. This file will be used to display the available models in the GUI.
Next, let's implement the load_model_meta method to create a ProjectMeta object that describes the classes and geometry of the model. We will define two ObjClass objects for each class: one for binary masks and one for probability maps.
Now, let's implement the load_model method to initialize the model and prepare it for inference. We will use the pretrained YOLO model for demonstration purposes.
Next, let's implement a method to make predictions. Here you can define the predict or predict_batch method to make predictions on a single image or a batch of images.
Different models may require different post-processing steps to convert the raw predictions into annotations. To handle this, we will implement the to_dto method to prepare the predictions for conversion to annotations. In our case, we will convert the predictions to PredictionMask (for binary masks) and ProbabilityMask (for probability maps) objects.
Disclaimer: To simplify the demonstration, we will simulate probability maps by applying a Gaussian blur to the binary masks. In a real-world scenario, you would use a model that returns probability maps directly.
Once the predictions are converted to DTO objects, we can create annotations from them. Lastly, we will implement the _create_label method to create a sly.Label object from the DTO object. This method will be used to create annotations in Supervisely format from the predictions.
That's it! You have successfully implemented a custom inference class that returns predictions with probability maps in addition to binary masks.
💫 Moreover, this class provides a GUI for the app, where you can select the model and deploy it. The GUI is generated based on the FRAMEWORK_NAME and MODELS attributes of the class.
Next, we will create a simple script to deploy the model as a serving app and make predictions.
Once you have implemented the custom inference class, you can create a simple script to deploy the model and infer images. The following script demonstrates how to deploy the model and make predictions on a batch of images. As a result, you will get a list of annotations in Supervisely format.
Run the application locally to test the GUI. If you are using VS Code, you can use provided launch configurations to run using uvicorn, or you can run the following command:
By clicking the Serve button, you can deploy the model.
Now, when the model is deployed locally, you can connect to it and make predictions. Prepare a simple script in src/session_inference.py and run it python src/session_inference.py:
For local testing, you can visualize the predictions generated by the model. You can draw predictions on images or render heatmaps on the images:
Prepare the config.json file with the necessary information about the app:
And run the following command to release the app:
After the app is released, you can find it in the Ecosystem Apps section of the platform. You can share the app with your team members and use it to get predictions from your custom model directly in Supervisely.
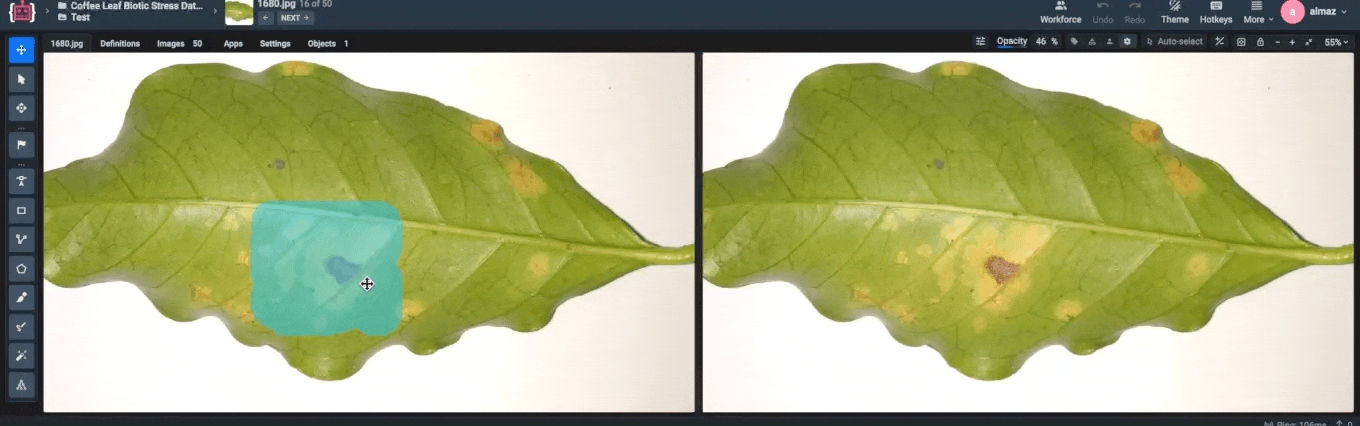
Open the project with predictions and explore the results. By activating the image matting labeling interface, you can take advantage of the AlphaMask geometry type to visualize the probability maps generated by the custom model.
Summary
In this guide, we have demonstrated how to implement custom model inference in Supervisely. By creating a custom inference class and integrating it with the platform, you can deploy your custom models and make predictions directly in Supervisely.
For this example, we've chosen a model trained on the from Dataset Ninja. The model checkpoint and all related materials are included in the repository, allowing you to follow along step by step.
Before we begin, make sure you have the necessary tools and libraries installed. Clone the with the example and install the dependencies: We recommend using a virtual environment to manage the dependencies.
Create a src/custom_model.py file and define a subclass of sly.nn.inference.Inference to implement the custom model. Depending on the CV task, you may inherit from appropriate subclass, such as sly.nn.inference.SemanticSegmentation, sly.nn.inference.InstanceSegmentation, sly.nn.inference.ObjectDetection, etc. Refer to the for more details.
For more advanced use cases, you can implement a custom subclass of sly.nn.Prediction to handle specific types of predictions. This allows you to define custom logic for creating annotations from the model predictions. Refer to the for more information.
The app will be available at .
.
.
See more details in .
Once you have tested the application locally and are satisfied with the results, you can release it as a Supervisely private app. Refer to the for detailed instructions on how to package and release the app.
Check out this with various options to get predictions from your custom model.
For example, you can run the app, connect to deployed custom model, and apply it to all images in the project in a few clicks.